Table Of Contents
Repairing Cracks in the Mortar
Cracks in the mortar of a masonry chimney can lead to significant issues if not addressed promptly. These cracks allow moisture to penetrate the structure, which can result in further damage, including spalling bricks and weakened joints. To effectively tackle this problem, it is essential to examine the extent of the cracks first. Minor hairline cracks can sometimes be filled with mortar caulk, while larger cracks may require a more comprehensive repair approach. Chimney masonry repair entails not only sealing the cracks but also assessing the overall integrity of the chimney.
Once you identify the cracks that need attention, preparation is key. Begin by cleaning the area around the crack to remove any debris or loose materials. A wire brush can assist in this cleaning process. Following this, mix a suitable mortar that matches the existing material. Application involves pressing the mortar firmly into the crack, ensuring a good bond with the edges. After filling, it is crucial to smooth the surface and allow sufficient time for the mortar to cure. Properly executed chimney masonry repair can enhance the longevity of your chimney and maintain its structural integrity.
Techniques for Patch Repair
When addressing minor cracks or deterioration in a masonry chimney, patch repair techniques can be quite effective. Begin by cleaning the area around the crack to ensure proper adhesion for the patching material. Use a wire brush to remove any loose debris and dust. Afterward, select an appropriate patching compound that matches the color and texture of the existing mortar. Apply the compound with a trowel, smoothing it into the crack and shaping it to blend seamlessly with the surrounding masonry. This careful application helps maintain the structural integrity of the chimney while enhancing its appearance.
It is crucial to allow the patched areas to cure properly, as this influences the longevity of the repair. For enhanced durability, consider sealing the entire chimney with a waterproof sealant after the patch has fully cured. This additional step can protect against moisture infiltration, which is a common cause of damage in chimney masonry. Regular inspections can help identify any new cracks early, allowing for prompt chimney masonry repair and preventing more extensive damage down the line.
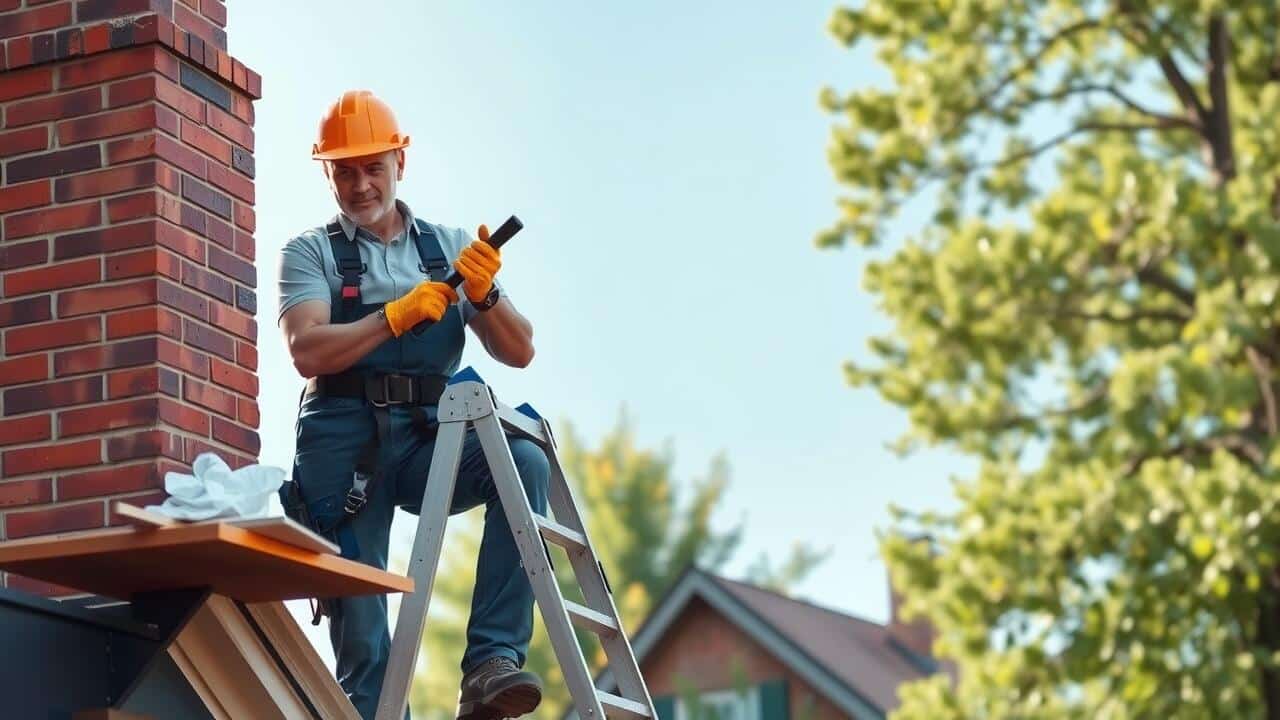
Replacing Damaged Bricks
When replacing damaged bricks in a chimney, it is essential to assess the extent of the damage first. Identifying whether the brick is cracked or crumbling allows for better planning of the repair. For Chimney Masonry Repair, removing the damaged bricks carefully is crucial to avoid compromising the surrounding structure. Use a chisel and hammer to chip away at the mortar surrounding the brick. This process should be performed gently to prevent damage to adjacent bricks.
Once the old bricks are removed, it’s time to install the new ones. Selecting bricks that match the original ones in size and color is important for aesthetic consistency. Apply a layer of mortar to the bottom of the brick, then press it into place, ensuring it’s level with the surrounding bricks. After installation, fill in the gaps with mortar and smooth the surface for a neat finish. Proper curing of the mortar ensures the longevity and durability of the repair, keeping the chimney in good condition.
How to Remove and Install New Bricks
Removing damaged bricks from a masonry chimney requires careful attention to avoid causing further harm to the structure. Begin by gently chiseling out the mortar surrounding the brick that needs replacement. Use a hammer and a chisel for this task, maintaining a steady hand to prevent damage to adjacent bricks. Once the mortar is adequately loosened, grip the brick with a pair of channel-lock pliers or a brick puller. Carefully pull the brick out, ensuring not to disturb the integrity of the surrounding masonry. This process is crucial in Chimney Masonry Repair to facilitate a proper fit for the new brick.
When installing new bricks, first mix a batch of mortar that matches the existing color and texture. Apply a generous amount of mortar to the sides and bottom of the new brick, ensuring good adhesion. Place the new brick into the prepared space, pressing it firmly against the adjacent bricks. Align it flush with the surface of the chimney for a seamless look. Fill any gaps with additional mortar and smooth it out with a trowel. Allow the mortar to cure as per the manufacturer’s recommendations, typically a few days, before exposing the repairs to moisture. This is an essential step in ensuring the longevity and durability of your Chimney Masonry Repair efforts.
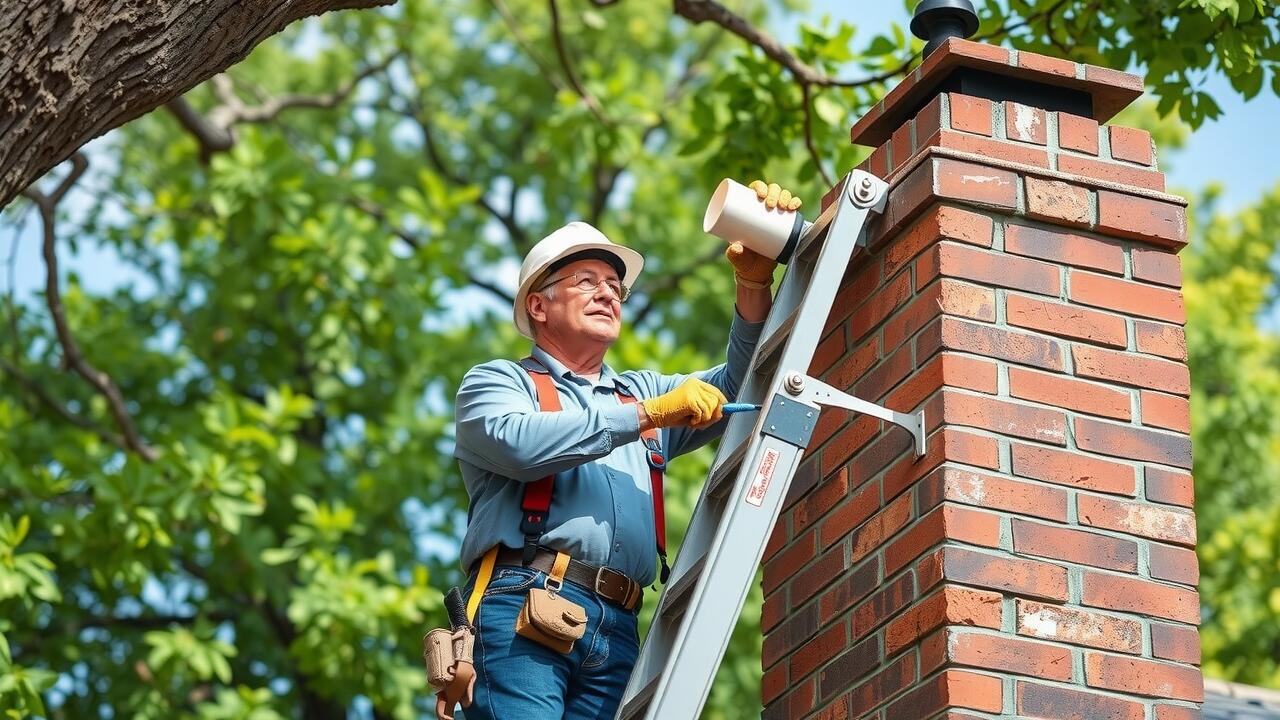
Sealing and Waterproofing
Sealing and waterproofing your masonry chimney is essential for maintaining its integrity and preventing water damage. Moisture can seep into the brick and mortar, leading to deterioration over time. Using a high-quality masonry sealer will significantly reduce water absorption. Apply the sealer generously, ensuring it penetrates the porous materials adequately. Regular maintenance of the sealant is crucial to prolonging the lifespan of your chimney.
When performing chimney masonry repair, consider using a waterproofing agent specifically designed for masonry surfaces. These products create a barrier that allows moisture vapor to escape while preventing water from entering. Be sure to follow the manufacturer’s guidelines for application techniques and drying times. This preventive measure not only safeguards the chimney but also enhances its appearance. Over time, well-sealed masonry will withstand harsh weather conditions, preserving both functionality and aesthetic appeal.
Methods for Protecting Your Chimney
Protecting your chimney is essential to prolong its life and maintain its functionality. One effective method involves applying a waterproof sealant specifically designed for masonry surfaces. This sealant creates a barrier against moisture, preventing water infiltration that could lead to damage. Regularly inspecting the sealant for wear and tear helps ensure ongoing protection.
Another strategy includes installing a chimney cap. A cap prevents rain, snow, and debris from entering the chimney while also reducing the risk of animal intrusion. This additional layer of defense, combined with regular Chimney Masonry Repair, can significantly enhance the durability of your chimney and maintain its structural integrity over time.
FAQS
What tools do I need to repair a masonry chimney?
To repair a masonry chimney, you will typically need a trowel, hammer, chisel, mortar mix, replacement bricks, waterproof sealant, and a wire brush.
How do I know if my chimney needs repairs?
Signs that your chimney may need repairs include visible cracks in the mortar or bricks, water stains inside your home, crumbling mortar, or missing bricks. If you notice any of these issues, it’s best to inspect further or consult a professional.
Can I repair my masonry chimney myself, or should I hire a professional?
While minor repairs like patching mortar or replacing a few bricks can be done by a homeowner with basic skills, more extensive repairs may require a professional to ensure safety and proper technique.
How often should I inspect my masonry chimney for repairs?
It’s recommended to inspect your masonry chimney at least once a year, especially before the heating season, and after severe weather events to catch any potential issues early.
What type of sealant is best for waterproofing a masonry chimney?
A high-quality masonry sealant specifically designed for outdoor use is best for waterproofing a chimney. Look for products that repel water while allowing moisture to escape to prevent damage from trapped moisture.