Table Of Contents
Choosing the Right Chimney Cap
When selecting a chimney cap, it’s essential to consider materials and design. Stainless steel caps offer durability and resistance to corrosion, making them a popular choice among homeowners. Other materials include copper and galvanized steel, each with its own aesthetic appeal and longevity. The design should fit the specific dimensions of your chimney to ensure a proper seal and effective function. A well-chosen cap can enhance the efficiency of your chimney system while preventing moisture and debris from entering.
During Chimney Cap Installation, ensuring a perfect fit is crucial. An ill-fitting cap may leave gaps that allow rain, animals, or even sparks to escape. Additionally, functionality should also be a priority; some caps include features like wind directional vanes or mesh screens to prevent animals from entering. Assessing local building codes can provide further guidance on acceptable designs. With careful consideration, the right chimney cap can enhance safety and efficiency in your home.
Factors to Consider When Selecting a Cap
When selecting a chimney cap, the primary consideration should be the size of your chimney. Accurate measurements are essential to ensure proper fit. A cap that is too small may not adequately prevent debris and rain from entering the flue, while one that is too large might not serve its purpose effectively. Additionally, consider the material of the cap. Options such as stainless steel provide durability and resistance to corrosion, while copper offers an aesthetic appeal but may require more maintenance over time.
Another important factor is the style of the chimney cap. Different designs serve various functions, such as preventing animal entry or reducing downdrafts. Consider your specific needs and the climate in your area, as some caps are better suited for particular weather conditions. When you opt for a chimne cap installation, ensure that the chosen model complements your home’s architecture while effectively addressing the functional requirements of your chimney system.
Step-by-Step Installation Process
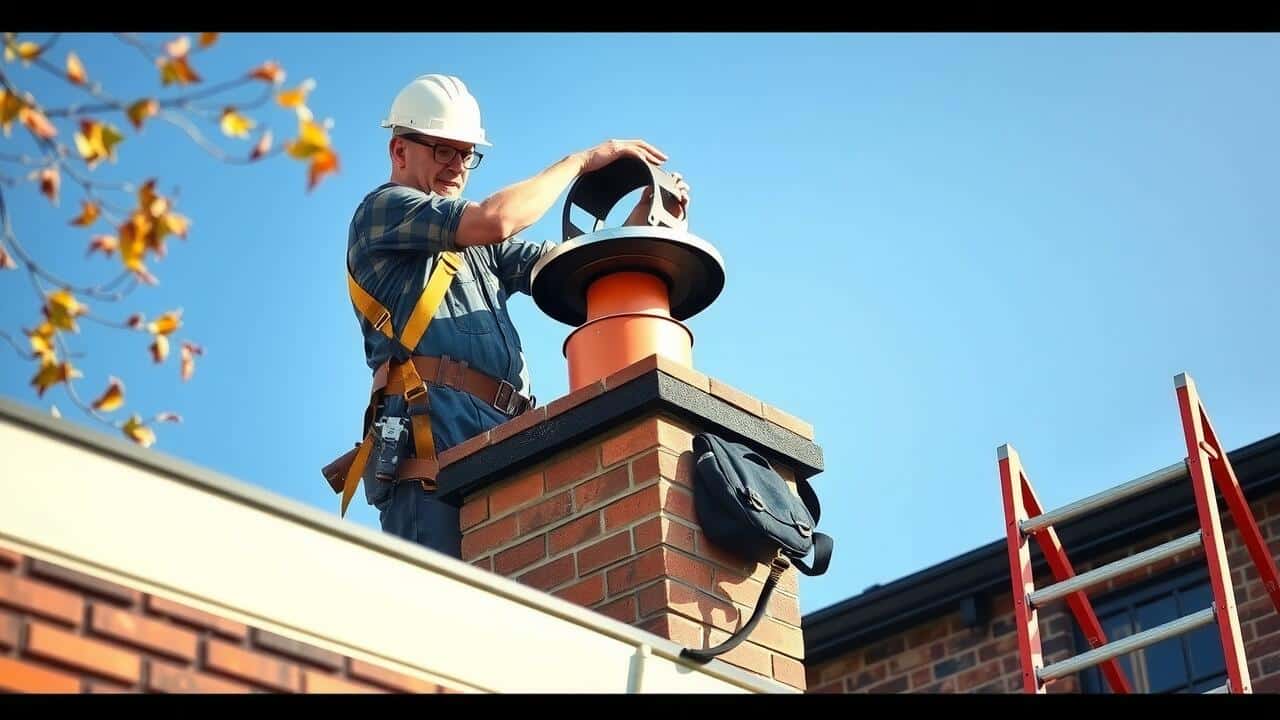
Begin your chimney cap installation by preparing the necessary tools and materials. Gather items such as a ladder, tape measure, masonry adhesive, and safety gear. Ensure that you select a chimney cap that fits your chimney’s dimensions and style. Before climbing, it’s essential to inspect the chimney to identify any issues like cracks or deterioration that may need addressing prior to installation.
Once you’re ready, ascend the ladder carefully and position yourself securely on the roof. Remove any existing cap or debris from the chimney. Next, align the new chimney cap over the opening. Apply masonry adhesive around the perimeter to create a strong seal. Finally, carefully check the cap’s stability to ensure it can withstand weather conditions without shifting or coming loose.
Detailed Instructions for Installation
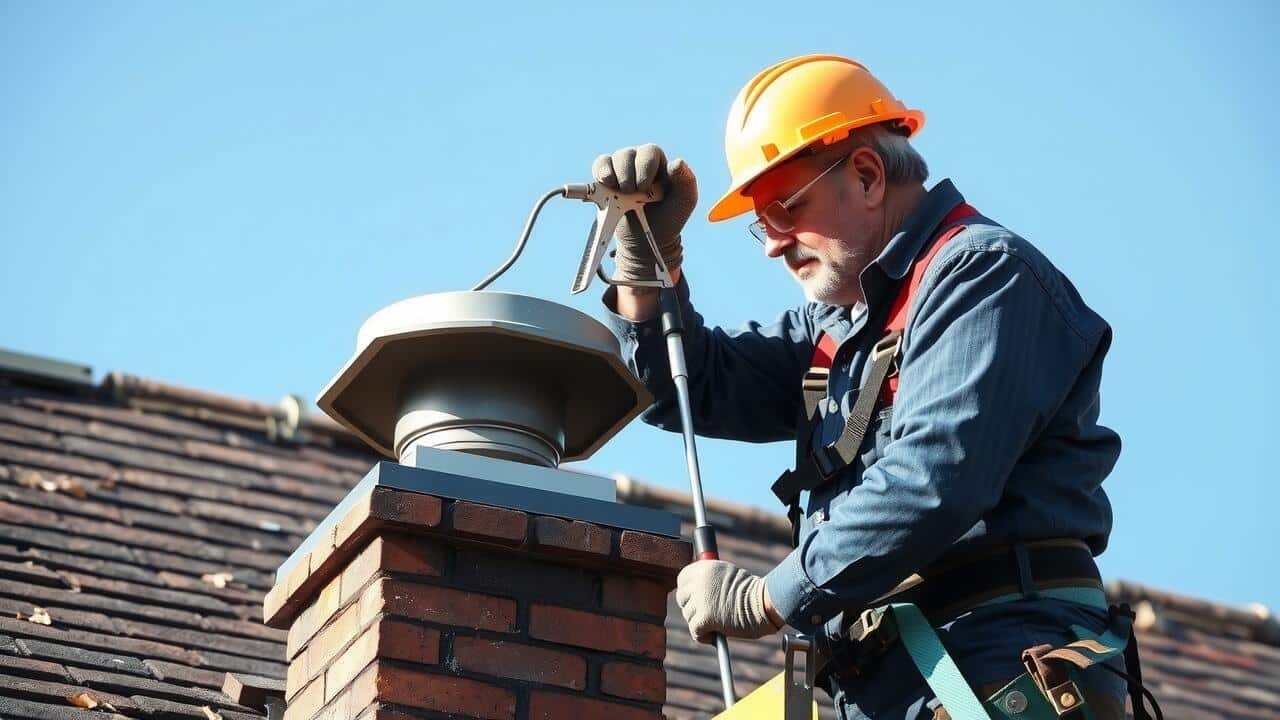
Before you begin the chimney cap installation, gather all necessary tools and materials. You will need a screwdriver, a ladder, safety goggles, and the chimney cap itself. It is essential to inspect the chimney flue for any debris or obstructions that may interfere with the installation process. Ensure the area around the chimney is clear, and wear your safety gear throughout the project.
Climb up the ladder carefully and position yourself at the top of the chimney. Remove any existing cap or debris from the opening if applicable. Align the new chimney cap with the flue, making sure it fits snugly. Secure it using the provided screws or brackets, following the manufacturer’s instructions. Double-check the stability of the cap before descending. Proper chimney cap installation will enhance efficiency and protect your home from potential hazards.
Common Mistakes to Avoid
When embarking on chimney cap installation, one common mistake is underestimating the importance of precise measurements. Accurate sizing ensures that the cap fits snugly on the chimney. A cap that is too large can allow debris to enter, while one that is too small may not provide adequate protection against moisture and animals. Taking the time to measure the flue’s dimensions before purchasing a cap will save you issues down the line.
Another frequent oversight relates to improper sealing. Many DIY installers forget to apply a suitable sealant around the edges of the chimney cap. This step is crucial for preventing leaks and improving the overall effectiveness of the installation. Skipping this process can lead to water damage or air leakage, negating the benefits a chimney cap provides. Ensuring that every step of the installation process is meticulously followed will contribute to a durable and functional chimney cap setup.
Pitfalls to Watch Out For
Many homeowners underestimate the importance of proper measurements during chimney cap installation. Failing to measure the chimney flue accurately can lead to purchasing a cap that either doesn’t fit correctly or fails to provide adequate coverage. A poorly fitted cap may allow water and debris to enter the flue, which can result in expensive repairs down the line. Additionally, consider checking for any obstructions that could hinder the installation process, as these can complicate the project significantly.
Another common mistake involves neglecting to follow safety protocols. Working on a roof poses inherent risks, and not using the right safety equipment can lead to accidents. Always ensure to wear appropriate footwear and use a sturdy ladder. It’s also advisable to have a helper if you’re uncomfortable working alone. Neglecting these precautions during chimney cap installation can not only jeopardize your safety but could also lead to an improperly installed cap, undermining its benefits.
FAQS
Can I install a chimney cap myself?
Yes, you can install a chimney cap yourself if you have the right tools and follow the proper instructions. However, ensure you are comfortable working at heights and have a good understanding of the installation process.
What tools do I need to install a chimney cap?
Common tools needed for installing a chimney cap include a ladder, measuring tape, caulk or silicone sealant, screws, a screwdriver or drill, and safety gear such as gloves and goggles.
How do I know which chimney cap is right for my chimney?
To choose the right chimney cap, consider factors such as the size and shape of your chimney, the material of the cap, and additional features like animal screens or dampers. Always measure your chimney flue to ensure a proper fit.
What are some common mistakes to avoid when installing a chimney cap?
Some common mistakes include failing to measure accurately, not securing the cap properly, neglecting to check for proper ventilation, and ignoring safety precautions when working on a roof.
Is it necessary to hire a professional for chimney cap installation?
While many homeowners can install a chimney cap themselves, hiring a professional may be advisable if you are unsure about the process, uncomfortable with heights, or if your chimney requires specialized work.