Table Of Contents
Mixing and Applying the Repair Material
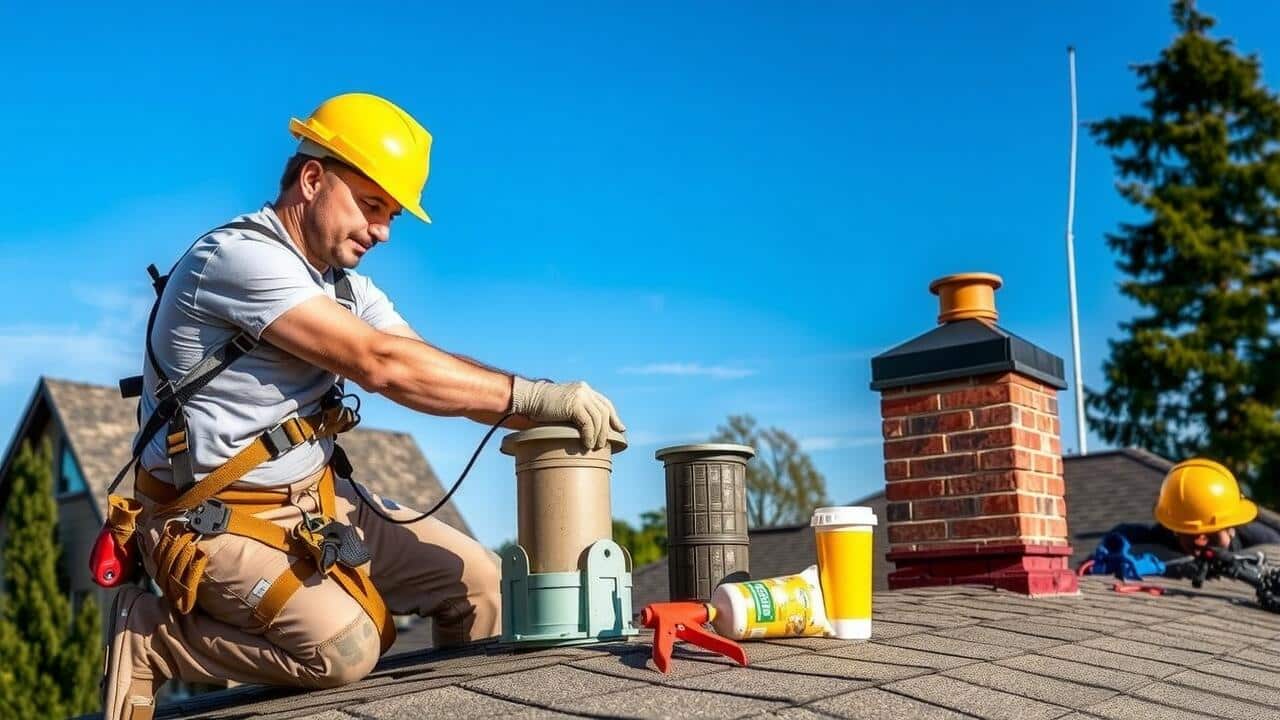
To begin the process of chimney crown repair, gather all necessary materials that will ensure a successful mix. Using a high-quality repair product designed for masonry is crucial. Start by measuring the appropriate amount of dry mix according to the manufacturer’s instructions. Gradually add water while stirring to reach a thick but workable consistency. Aim for a mixture that adheres well while still allowing for application without undue dripping or sagging. This careful preparation is essential for the durability of your repair.
Once the mixture is ready, apply it promptly to the chimney crown. A trowel or masonry float works well for spreading the material evenly across the surface. Ensure you fill any cracks or voids thoroughly to create a water-resistant barrier. Work in sections, applying the repair material smoothly while blending it into the existing crown structure. Proper application techniques in your chimney crown repair will help achieve a seamless finish that blends with the original surface for lasting results.
Techniques for Effective Application
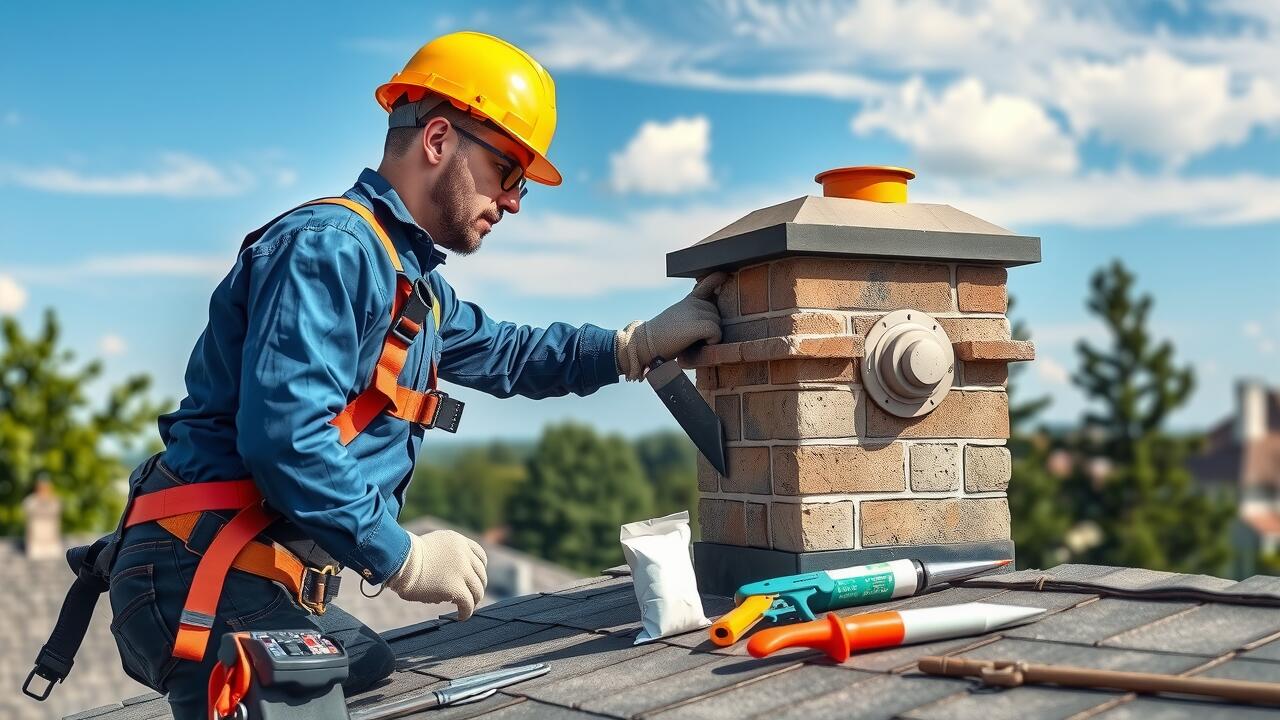
To achieve a successful outcome in Chimney Crown Repair, proper application techniques are essential. Begin by ensuring the repair surface is clean and free of debris. Any old or crumbling concrete should be removed to create a solid base for the new material. A wire brush can help in scrubbing away loose particles, while a damp cloth can remove dust. Once the surface is prepared, apply a bonding agent to enhance the adhesion of the new repair compound.
When applying the repair material, use a trowel to spread it evenly across the chipped or cracked areas of the chimney crown. It is crucial to work in small sections to maintain control and avoid premature setting of the material. Ensure that you consolidate the repair compound into the cracks and level it with the existing surface. Consider using a finishing tool to smooth out the top layer, ensuring a uniform appearance. Quality application techniques contribute significantly to the longevity and effectiveness of Chimney Crown Repair.
Curing Time and Drying Process
The curing time and drying process for a chimney crown repair is essential to ensure durability and performance. The material used for the repair will typically require a specific duration to set properly. This period can vary based on weather conditions, humidity levels, and the type of material applied. Generally, a time frame of 24 to 48 hours is recommended before considering the chimney crown fully cured. During this time, it is crucial to protect the area from any moisture or disturbances that could affect the integrity of the repair.
Once the initial curing time has passed, further drying may still be necessary. Allowing the repair to dry completely helps prevent potential issues, such as cracking or water infiltration. Waiting at least a week before using the chimney is advisable, particularly if it has been repaired with a more moisture-sensitive material. Following these guidelines will contribute to the longevity and effectiveness of your chimney crown repair in maintaining the overall health of your chimney system.
How Long to Wait Before Use
After completing the Chimney Crown Repair in your home, allowing sufficient curing time is crucial to ensure the longevity and effectiveness of the repair. Most repair materials require a specific drying period, often ranging from 24 to 72 hours, depending on the product used and climate conditions. It is essential to check the manufacturer’s instructions for specific guidelines. Rushing to use the chimney before it is fully cured can lead to further damage or compromise the integrity of the repair.
During the waiting period, avoiding any exposure to moisture or harsh weather conditions is important. This includes preventing rain or snow from impacting the repair surface. Using a protective cover can help shield the chimney crown from unfavorable elements. Ensuring the repair material has adequately cured before utilizing the chimney will help maintain a safe and functional structure for years to come.
Maintenance Tips for Your Chimney Crown
Regular inspections of your chimney crown are essential. Check for cracks or signs of wear at least twice a year. Look for moisture accumulation or flaking materials, as these can indicate problems. Address minor issues immediately to prevent further deterioration. If you notice extensive damage, consider a professional evaluation. Staying proactive can extend the life of your chimney crown and prevent costly repairs down the line.
Maintaining your chimney crown involves more than just inspections. Proper cleaning is also important. Remove debris, such as leaves and twigs, that may accumulate on the surface. Additionally, applying a waterproof sealant every few years can help protect against water damage. If you decide to undertake any Chimney Crown Repair in your home, ensure that you follow all safety protocols. Regular maintenance can significantly enhance the durability of your chimney and keep it functioning effectively.
Regular Inspections and Upkeep
Regular inspections and upkeep are essential for maintaining the integrity of your chimney crown. Over time, weather elements and debris can take a toll on the crown’s surface, leading to cracks or deterioration. Inspecting for signs of wear and damage helps identify issues early, allowing for timely chimney crown repair in order to prevent more extensive damage down the line. It is beneficial to look for any visible cracks, signs of water pooling, or any unusual deterioration during these inspections.
To ensure your chimney crown remains in good condition, incorporate regular maintenance into your routine. Cleaning the area around the chimney and removing any debris will help prevent moisture buildup, which can worsen existing issues. Applying a water-repellent sealant every few years offers an added layer of protection. Engaging a professional for comprehensive inspections once a year can provide peace of mind and catch potential problems before they escalate, ensuring your chimney crown stays functional and safe.
FAQS
Can I repair my chimney crown myself?
Yes, you can repair your chimney crown yourself if you have some basic masonry skills and the right materials. However, it’s important to assess the extent of the damage first.
What materials do I need to repair a chimney crown?
You will need a suitable repair material, such as a specialized crown repair compound or concrete mix, a trowel for application, and possibly a sealant for finishing.
How do I apply the repair material to my chimney crown?
First, clean the crown of any debris and loose material. Then mix the repair material according to the manufacturer’s instructions, and apply it using a trowel, smoothing it into place and ensuring a good bond.
What is the curing time for chimney crown repairs?
Curing time can vary based on the materials used, but typically, you should allow at least 24 to 48 hours for the repair to cure before using the chimney.
How often should I inspect my chimney crown for maintenance?
It’s a good practice to inspect your chimney crown at least once a year, and more frequently if you live in an area with extreme weather conditions. Regular inspections can help identify potential issues early on.